Setting Up and Using GemWallet
Learn how to install, set up, activate, and use GemWallet — a browser-based wallet for the XRP Ledger with support for XRP, tokens, NFTs, and dApps.

If you prefer using the XRP Ledger directly from your browser, GemWallet is a powerful and secure option.
It’s an open-source browser extension wallet that lets you send and receive XRP, manage tokens, connect to dApps, and interact with the XRPL without needing a separate mobile app.
This guide will walk you through installing, setting up, funding, and using GemWallet.
1. Install GemWallet
GemWallet is available as a browser extension for:
- Google Chrome / Brave: GemWallet Chrome Web Store
- Mozilla Firefox: GemWallet Firefox Add-ons
Security Tip: Only download GemWallet from its official sources or linked repositories. Avoid unofficial clones.
2. Create a New Wallet
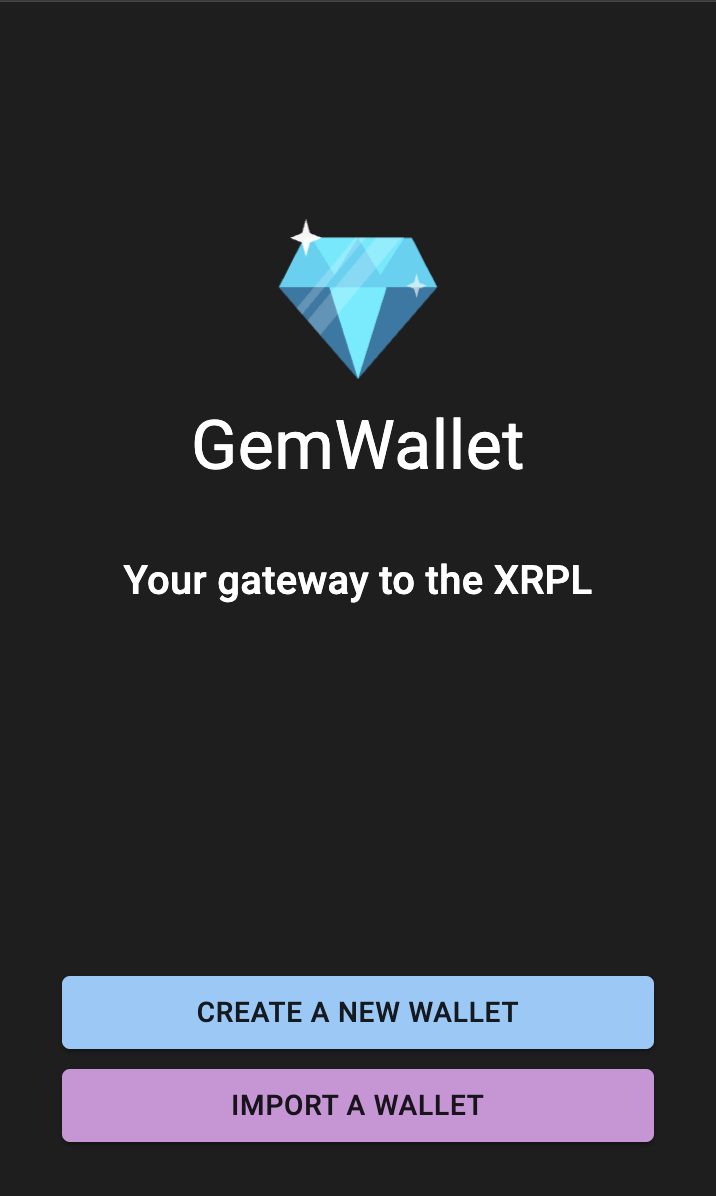
When you first open GemWallet, you’ll see two options:
- Create a New Wallet
- Import an Existing Wallet
For this guide, we’ll create a new wallet:
-
Click Create a New Wallet.
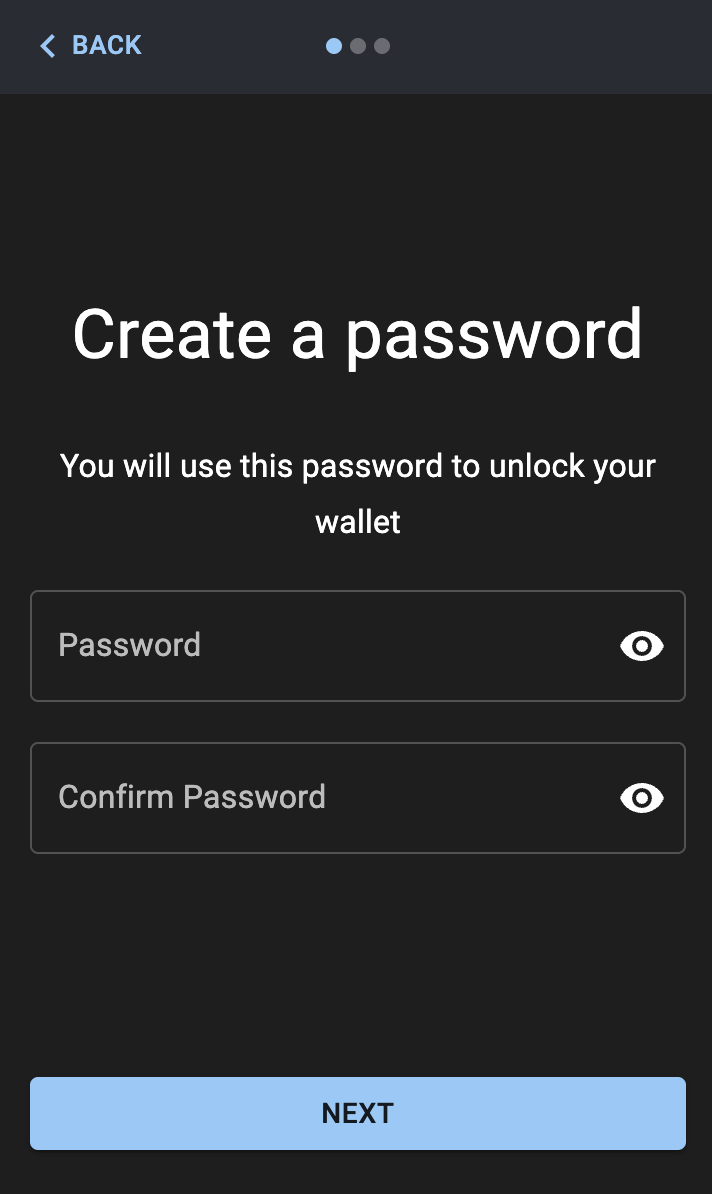
- Create a new password and re-enter it to confirm. This password will be required whenever you access GemWallet.
- Your wallet is generated and you’ll be shown your secret recovery phrase.
- Write down your recovery phrase and store it offline in at least two secure places.
- To start using your wallet, you’ll need to fund it with at least 1 XRP to activate it. This reserve prevents spam accounts.
3. Activate Your Wallet
Just like other XRPL wallets, GemWallet requires a reserve (~1 XRP) to activate.
You can fund it by purchasing XRP on exchanges such as:
- Binance
- Bitstamp
- Coinbase
- Crypto.com
- GateHub
- Kraken
- Uphold
- Wirex
Then withdraw to your GemWallet address (visible in the wallet dashboard). Double-check the address before sending.
Exchanges may require a Destination Tag for certain accounts.
4. Explore the Interface
- Dashboard: View balances, transactions, and connected accounts.
- Send & Receive: Manage XRP and other XRPL tokens.
- NFTs: View and interact with NFTs stored on your XRPL account.
- Settings: Manage network preferences, accounts, and security.
5. Sending & Receiving XRP
To Receive:
- Click Receive in GemWallet to copy your address or display a QR code.
To Send:
- Click Send.
- Paste the destination address.
- Enter the amount of XRP or tokens.
- Add the Destination Tag if required.
- Confirm the transaction.
6. Connecting to XRPL dApps
- When visiting a supported dApp, you’ll be prompted to connect GemWallet.
- You can approve or reject transactions directly from the extension.
- This is safer than pasting private keys or recovery phrases into websites.
Final Takeaway
GemWallet is perfect for users who want fast browser-based access to the XRPL without needing a mobile wallet.
It’s especially useful for interacting with XRPL DeFi, NFTs, and dApps directly from your computer.